
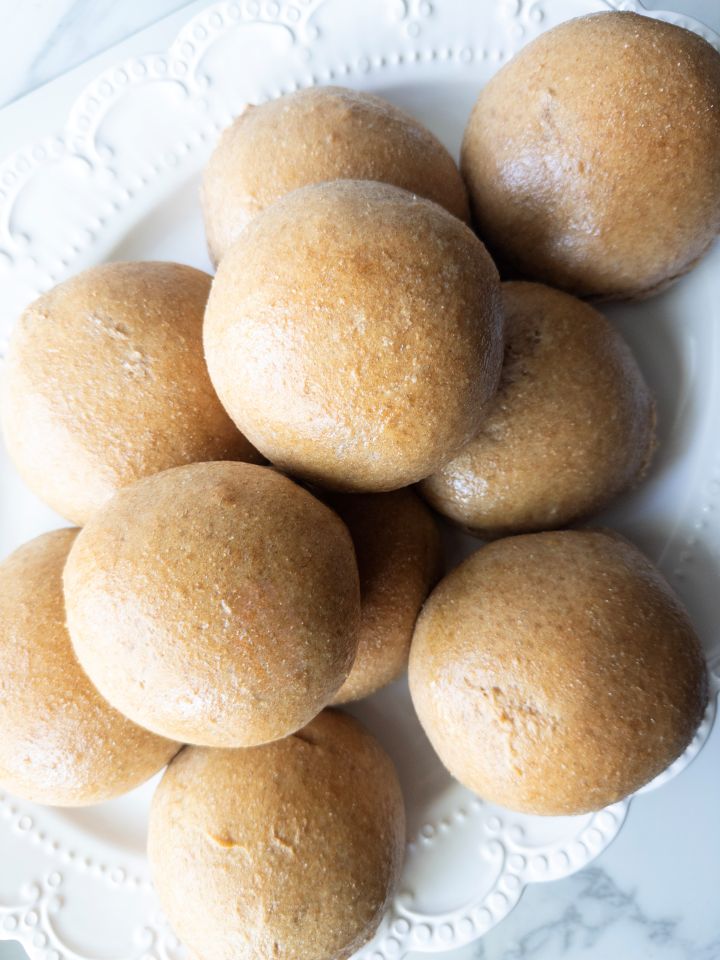
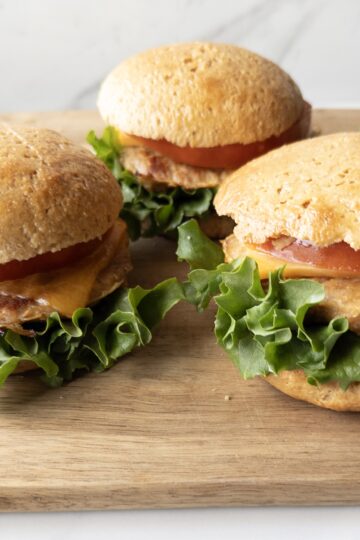
Say goodbye to store-bought buns! These soft hamburger buns are made with freshly milled wheat berries and complement any burger or sandwich. And the best part? You can have them on the table in about an hour! No long waits, no second rise, just fresh homemade buns when you need them.
Once I started paying attention to the ingredients in the food I was buying at the store, I quickly realized that hamburger buns were going to be tricky to shop for. That sent me on a mission to create the perfect homemade hamburger bun. One that's soft and squishy, sturdy enough to hold the burger and all the toppings, but not so heavy that it overpowers everything else.
That journey took an unexpected turn when my family developed gluten sensitivities and I decided to start milling my own grains. Perfecting a soft, fluffy hamburger bun with fresh milled flour became quite the adventure, and, I'll admit, resulted in more than a few dry, dense bricks that I optimistically tried to serve my family as hamburger buns!
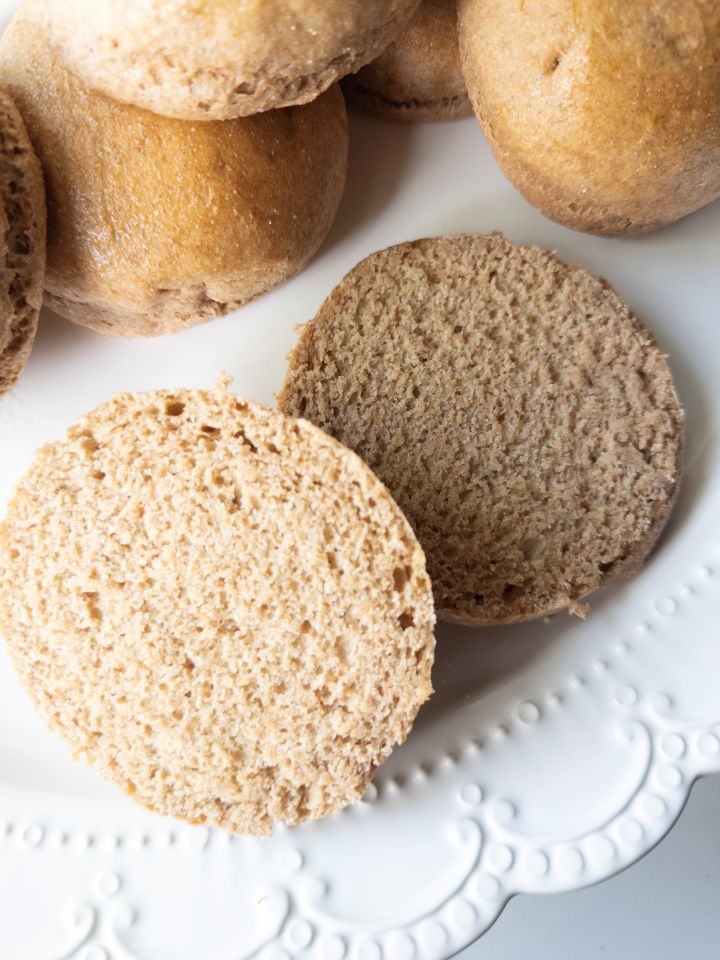
Fresh milled flour is denser and more nutritious than store-bought, which means it needs a little extra help to get that light, fluffy rise. Through plenty of trial and error, I figured out exactly how to make that happen with a recipe that works every time and results in a bun that's soft, satisfying, and ready in an hour.
The key is using more yeast than a traditional recipe calls for. With enough leavening power in the dough, you get a substantial rise in a single proof (a technique called "rapid rise"). A small amount of lemon juice works alongside the extra yeast, strengthening the gluten structure and promoting a soft, fluffy bun. I'll be honest, I was skeptical the first time I tried it. It felt too easy. But the buns came out soft and perfectly risen, and the time saved by only having one rise makes these buns so achievable that I'll never go back.
One rise, one hour, and you've got homemade hamburger buns made from freshly milled flour. I love pairing them with these Gluten-Free Turkey Burgers!
Jump to:
Ingredients
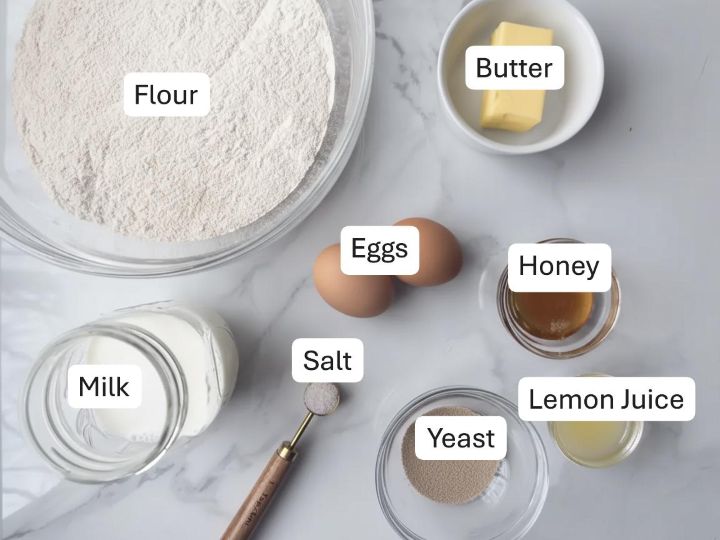
- Fresh Milled Flour — Hard white wheat berries are my go-to here for their strong gluten development, but hard red wheat berries work well too, as does a half hard white, half soft white blend. Honestly, the extra yeast makes this recipe very forgiving — don't stress too much about which wheat berry you reach for.
- Milk — Adds softness and a subtle richness to the bun.
- Lemon Juice — A small amount of acidity strengthens the gluten structure and contributes to that soft, fluffy crumb.
- Instant Yeast — This recipe uses more yeast than you might expect, which is what makes the one-rise, one-hour timeline possible. The extra leavening power means you don't have to wait around for a second proof without sacrificing any of the lift or texture.
See recipe card for quantities.
Instructions
Step 1: Combine the wet ingredients
Add the butter, honey, lemon juice, milk, and eggs to the bowl of a stand mixer and whisk to combine.
Step 2: Add the dry ingredients & knead
Add the fresh milled flour, yeast, and salt and knead with the dough hook on low speed — speed 3 or 4 on a KitchenAid mixer — for 8–10 minutes, until the dough passes the windowpane test.
Fresh milled flour is naturally stickier than store-bought, so you may need to add a little extra flour as you go. I added an extra 60 grams in 30-gram increments during kneading. Add just enough to keep the dough from sticking to the bowl, and resist the urge to keep adding more. A slightly tacky dough is exactly what you want here.
Step 3: Shape the buns
Line a baking sheet with parchment paper and divide the dough into 12 equal pieces. Shape each piece into a round bun by gently folding the dough under itself until a smooth surface forms on top. Place them on the prepared baking sheet. If you'd like a visual on the shaping technique, check out the video!
Step 4: Rise & preheat
Cover the baking sheet loosely with plastic wrap and let the buns rise for 30 minutes. While they rise, preheat the oven to 350°F.
Step 5: Bake
Bake for 15–18 minutes, until golden brown (17 minutes tends to be the sweet spot for me). If you'd like, brush the warm buns with melted butter straight out of the oven for a shiny, buttery finish.
Variations
This recipe also makes great sliders or dinner rolls.
- Sliders - Divide the dough into 16-18 buns (rather than 12) to achieve a more petite bun. Follow the same shaping instructions and bake for 12-14 minutes.
- Dinner rolls - Divide the dough into 12-16 rolls and shape each into a smooth ball. Bake on a parchment lined baking sheet or in a greased 9X13 pan for 12-14 minutes.
Equipment
- Stand mixer with a hook attachment
- Baking sheet
- Parchment paper
- Plastic wrap
Storage
Store buns at room temperature in an air-tight container for 2-3 days.
You can also freeze the buns for longer storage and reheat them in the toaster or oven when ready to use. Just make sure they are completely cooled before freezing.
A hard wheat berry — white or red — is my recommendation for this recipe. Hard wheat has stronger gluten development, which matters most in a yeasted recipe like this one. That said, I've also had great results with a half hard white, half soft white blend. The extra yeast makes this recipe forgiving, so don't let the choice of wheat berry stress you out too much.
Absolutely, though it takes a little more effort. Knead the dough by hand on a lightly floured surface for 10–12 minutes, or until it passes the windowpane test. Fresh milled flour can be sticky, so resist adding too much extra flour as you go. Check out the video if you'd like a visual for the windowpane test.
Instant yeast is recommended here since it's more potent and doesn't require proofing. But if all you have on hand is active yeast, that's no problem! I've made this recipe several times with active yeast and have had no problems.
I like to use the windowpane test. This is done by pulling off a small piece of dough and gently stretching it between your fingers. If it stretches thin enough to let light through without tearing, the gluten is well developed and the dough is ready. Check out the video if you'd like a visual.
Top Tip
Don't be tempted to keep adding flour. Fresh milled flour behaves differently than store-bought — it won't pull away from the bowl as cleanly, and that's okay. I typically add about 60 grams of extra flour during kneading, working it in 30 grams at a time so the dough has a chance to come together between additions. You're looking for a dough that's manageable and no longer sticking to the bowl, not one that looks perfectly smooth and tidy like store bought flour dough would.
Looking for more fresh milled flour recipes? Try these!
- The Best Banana Bread made with Fresh Milled Flour (One Bowl + No Refined Sugar!)
- Cottage Cheese Pancakes with Fresh Milled Flour
- Fresh Milled Flour Waffles with Greek Yogurt
- Fresh Milled Flour Chocolate Chip Cookies
Recommended
Looking for other recipes like this? Try these:


Did you try this recipe and love it? Please leave a 5-star review and a comment!
Fresh Milled Hamburger Buns Ready in One Hour
Ingredients
Method
- Add the butter, honey, lemon juice, milk, and eggs to the bowl of a stand mixer and whisk to combine.
- Add 600g fresh milled flour, yeast, and salt and knead with the dough hook on low speed — speed 3 or 4 on a KitchenAid mixer — for 8–10 minutes, until the dough passes the windowpane test. Fresh milled flour is naturally stickier than store-bought, so you may need to add a little extra flour as you go. I added an extra 60 grams in 30-gram increments during kneading. Add just enough to keep the dough from sticking to the bowl and resist the urge to keep adding more. A slightly tacky dough is exactly what you want here.
- Line a baking sheet with parchment paper and divide the dough into 12 equal pieces. Shape each piece into a round bun by gently folding the dough under itself until a smooth surface forms on top. Place them on the prepared baking sheet. If you'd like a visual on the shaping technique, check out the video!
- Cover the baking sheet loosely with plastic wrap and let the buns rise for 30 minutes. While they rise, preheat the oven to 350°F.
- Bake for 15–18 minutes, until golden brown (17 minutes tends to be the sweet spot). If you'd like, brush the warm buns with melted butter straight out of the oven for a shiny, buttery finish.
Video
Notes
Related
Looking for other recipes like this? Try these:
Comments
No Comments