
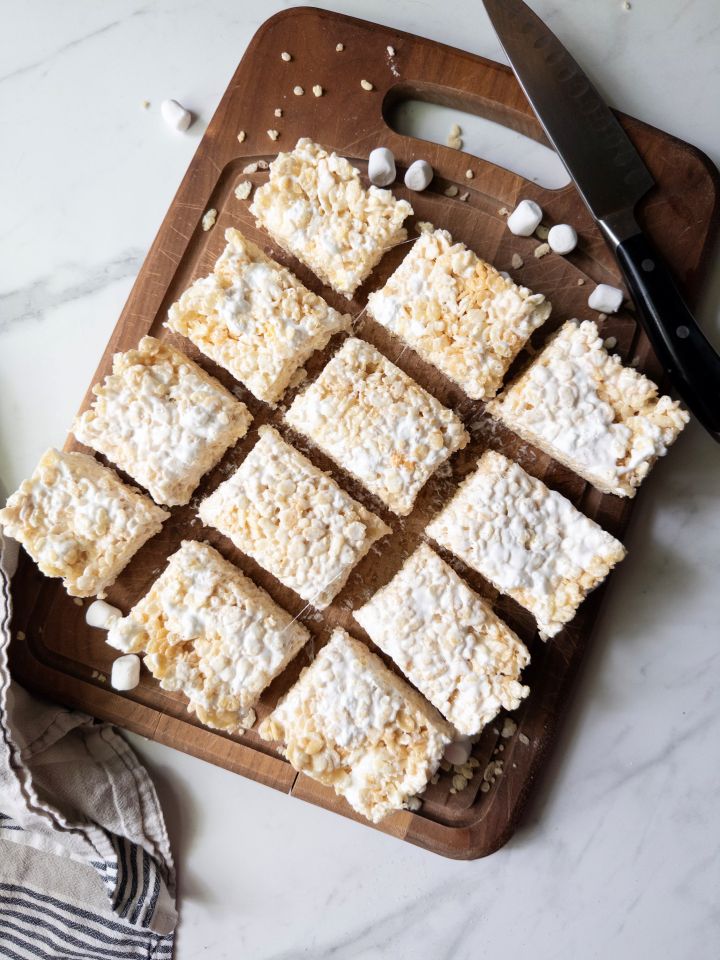
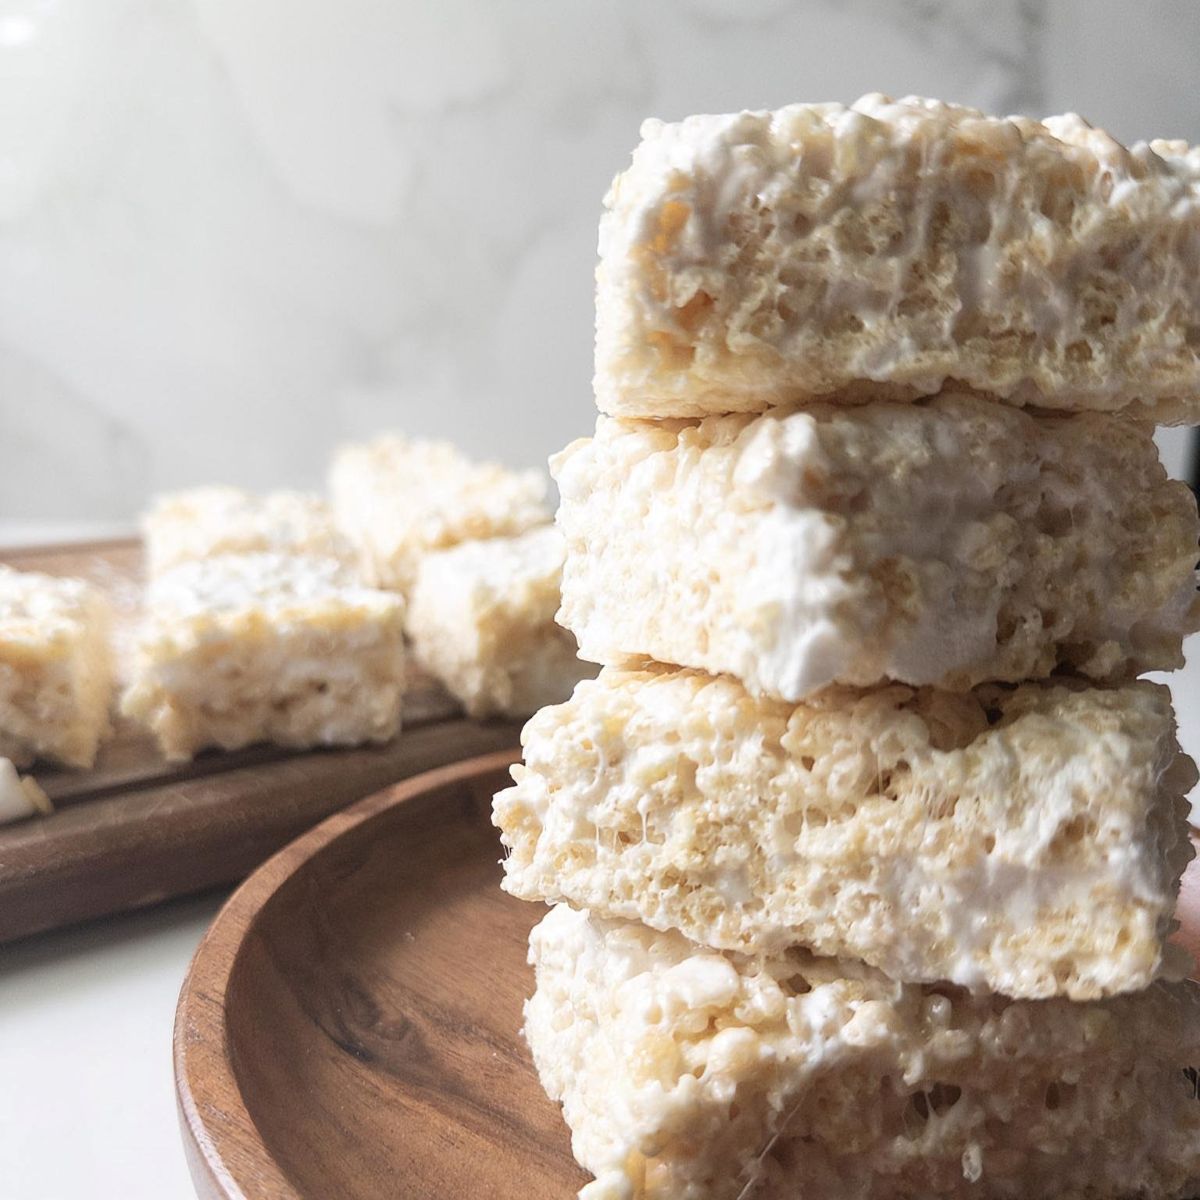
Thick, gooey, and just a little fancy. These bakery-style rice crispy treats are gluten-free, dairy-free, and the kind of thing people ask you to bring to every get together. The secret is two rounds of marshmallows — one melted into the base, one folded in at the end for those irresistible gooey pockets.
Some recipes just hit different when you know everyone at the table can actually eat them.
Rice crispy treats have always been a favorite in our house. But when my family went gluten free a couple years ago, this became one of those recipes I started making on repeat. No substitutions, no sad alternatives. Just a really good rice crispy treat that happens to work for everyone. And because these use coconut oil instead of butter, they're dairy free too — no one feels left out.
I didn't want a rice crispy recipe that was just fine. I wanted one that felt special. Every other recipe I tried fell a little flat. Not tall enough, not gooey enough. Just kind of average. These are not that.
The secret is two things: thickness and marshmallows. Most get melted into that classic sticky base, but then you fold in a second round of unmelted marshmallows right at the end. Those stay just intact enough to give you gooey pockets and that bakery-style height that makes it hard to stop at one.
One of my favorite things to bring to get-togethers is a platter with these alongside my One Bowl Gluten-Free Chocolate Chip Cookies. A winning combo!
Why You'll Love This Recipe
- They're thick. Like, actually thick.
- The double marshmallow technique gives you melty, gooey pockets in every single bite.
- Gluten-free AND dairy-free, so just about everyone can enjoy them.
- The coconut oil adds a subtle hint of coconut flavor that makes these taste a little more elevated than your average crispy treat.
- Simple ingredients, one pot, and no oven required.
- They're a guaranteed hit at parties, school events, or just an ordinary Friday night that you want to make feel a little more special.
Jump to:
Ingredients
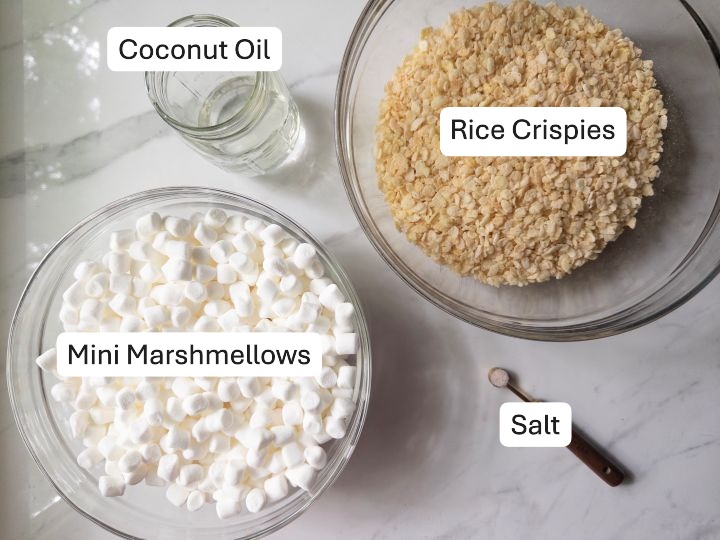
- Coconut oil — replaces butter to keep these dairy-free, and adds a subtle hint of coconut flavor that makes these taste a little more elevated
- Mini marshmallows — used two ways: most get melted into the base, and a portion gets folded in at the end for those gooey, bakery-style pockets
- Rice Krispies cereal — make sure your bag is certified gluten-free if you need these to be strictly GF
- Salt — just a touch to balance the sweetness
See recipe card for quantities.
Instructions
Step 1: Grease Your Pan
Before you start anything on the stove, grease a 9x9 pan with coconut oil. My favorite trick is to melt your coconut oil in a small mason jar (one of those little ones with measurements on the side works perfectly) in the microwave. Measure out your ¼ cup, then use the excess to coat your pan. Just pour a little in and spread it around with your hands. Easy, no mess.
Step 2: Melt the Coconut Oil and Marshmallows
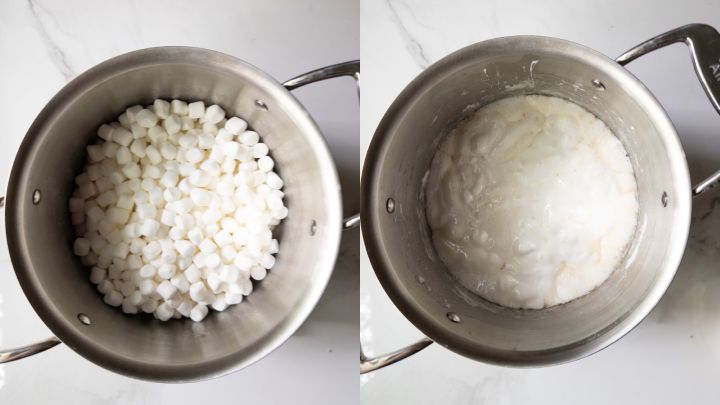
Place a large stock pot over medium-low heat. Add your coconut oil, mini marshmallows (10oz), and salt. Stir continuously with a rubber spatula until the marshmallows are fully melted and smooth. The rubber spatula is key here. It keeps things from sticking.
Step 3: Add the Cereal and Fold in the Marshmallows
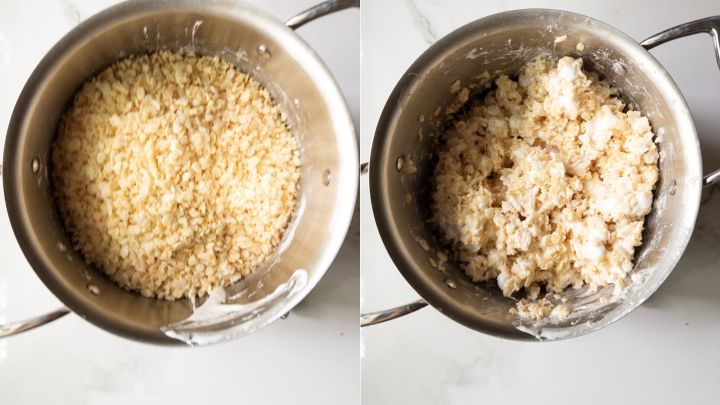
Turn off the heat. Pour in your Rice Krispies and reserved mini marshmallows (5oz) and stir to combine. The residual heat will coat the cereal and soften the whole marshmallows just enough to get gooey without melting them completely. Those little pockets are exactly what you're after.
Step 4: Press into Your Pan
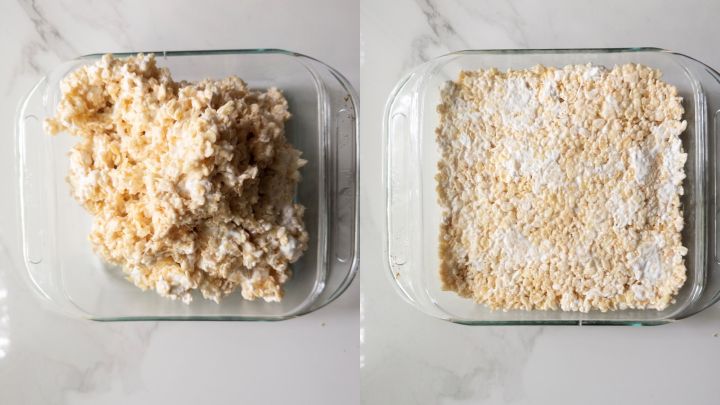
Transfer the mixture into your prepared 9x9 pan. Skip the spatula here. Grab a large metal spoon, coat the back with a little coconut oil, and use that to press everything into an even, flat layer. It glides more smoothly and gives you a nice clean finish.
Step 5: Cool & Cut
Let the treats cool at room temperature for at least 30 minutes, or pop them in the refrigerator if you want them to firm up faster. Once fully cooled, cut with a sharp knife for clean edges.
Pro tip: Want to speed things up? Pop the pan in the refrigerator to firm them up faster before cutting.
Substitutions
Butter — if you don't need these to be dairy-free or you don't want the subtle coconut flavor, butter works as a 1:1 swap for coconut oil. Just know you'll lose that hint of coconut flavor, and they won't be dairy-free anymore.
Variations
Chocolate drizzle — melt some chocolate chips and drizzle over the top before they set. It adds a little something extra and makes them look like they came straight out of a bakery case. Just make sure to use dairy-free chocolate chips if you'd like to keep them dairy-free.
Sprinkles — fold them in at the end right along with your reserved marshmallows. Fun for birthdays, holidays, or honestly just a random Wednesday.
Cereal swap — Cocoa Pebbles or Fruity Pebbles work great here if you want to mix things up. Just double check the label for gluten-free certification before you buy if you want to keep these gluten-free.
Equipment
- 9x9 baking dish
- Large stock pot
- Rubber spatula
- Metal spoon
- Small mason jar (optional) — the easiest way to melt and measure your coconut oil in one step
Storage
Store your rice crispy treats in an airtight container at room temperature for up to 2-3 days. They're honestly at their best the first day or two while they're still soft and those marshmallow pockets are at peak gooeyness.
Top Tips
The mason jar trick. Melt your coconut oil in one of those small mason jars with the measurements on the side. You can measure and melt in the same jar, then pour the excess straight into your pan to grease it. One less dish, no waste.
Oil your spoon. Skip the spatula when pressing your treats into the pan. Coat the back of a large metal spoon with a little coconut oil and use that instead. It glides smoothly and gives you a much cleaner, flatter finish.

FAQ
Yes! These are great for making ahead of time. Make them the day before, let them cool completely, and store them in an airtight container at room temperature. They'll be just as good the next day.
Absolutely. If you're making these for a crowd, double the recipe and press it into a 9x13 pan instead. You'll get more treats with a similar thickness.
You can, but mini marshmallows melt more evenly and faster, which makes the whole process a little easier. If large is all you have, just know it may take a bit longer to melt and you'll want to roughly chop the ones you fold in at the end.
This usually happens when the heat is too high. Keep it on medium-low and stir constantly. Patience is your friend here.
Related
Looking for other recipes like this? Try these:


Thick and Gooey Gluten-Free Rice Crispy Treats
Ingredients
Method
- Grease a 9x9 baking dish with coconut oil and set aside.
- Melt coconut oil in a large stock pot over medium-low heat. Add 10 oz mini marshmallows and salt. Stir constantly with a rubber spatula until fully melted and smooth.
- Turn off the heat. Add Rice Krispies and remaining 5 oz of mini marshmallows. Stir until cereal is fully coated and marshmallows are just softened.
- Transfer mixture to prepared dish. Using the back of an oiled metal spoon, press into an even, flat layer.
- Cool at room temperature for at least 30 minutes. Once fully cooled, cut with a sharp knife and serve.
Notes
Pairing
These are my favorite dishes to serve with these Thick & Gooey Rice Crispies:


Comments
No Comments